Comprehensive Guide to Bow Tuning for Optimal Performance
Bow tuning is an essential skill for any bowhunter or archer who wants to achieve optimal accuracy and confidence. This step-by-step guide outlines the key processes to ensure your bow is fine-tuned for peak performance.
Step 1: Set Draw Length and Draw Weight
Adjusting Draw Length
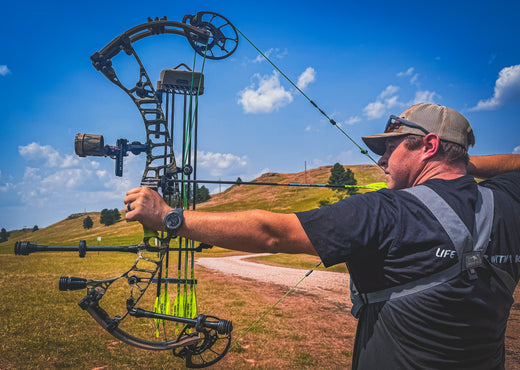
Start by setting your draw length. At full draw, you should feel comfortable and focused solely on aiming. If you feel tense or rushed, your draw length is likely incorrect. Most bowhunters mistakenly use a draw length that is too long. Telltale signs include:
A draw-arm elbow that doesn’t align with the arrow when viewed from the rear.
A draw-arm hand that doesn’t anchor solidly along the back of the jawbone.
Experiment with different settings until you find a draw length that feels natural and relaxed. Even 1/8–1/4 inch draw length adjustments can have a major impact on accuracy.
Adjusting Draw Weight
Next, set the draw weight. You should be able to draw your bow smoothly without raising the top pin more than a few inches above the target. If you find yourself struggling or overexerting, reduce the draw weight.
A comfortable draw weight ensures you can draw the bow undetected in a hunting situation and aim effortlessly. At full draw, aiming should feel natural and unstressed.
Step 2: Adjust the Bow’s Cams
Cam Synchronization
Proper cam synchronization ensures the top and bottom cams work together for smooth and consistent arrow flight. To check cam timing:
Draw your bow back while a friend observes whether the top and bottom string harnesses hit their draw stops simultaneously. This can be done more precisely using a draw board.
If the bottom cam reaches the stop first, adjust the string cable on the bottom harness to synchronize both cams.
This process can be time-consuming, but it is critical for accuracy. A bow press, such as the Bowmaster G2 or EZ Green Press, is required for these adjustments.
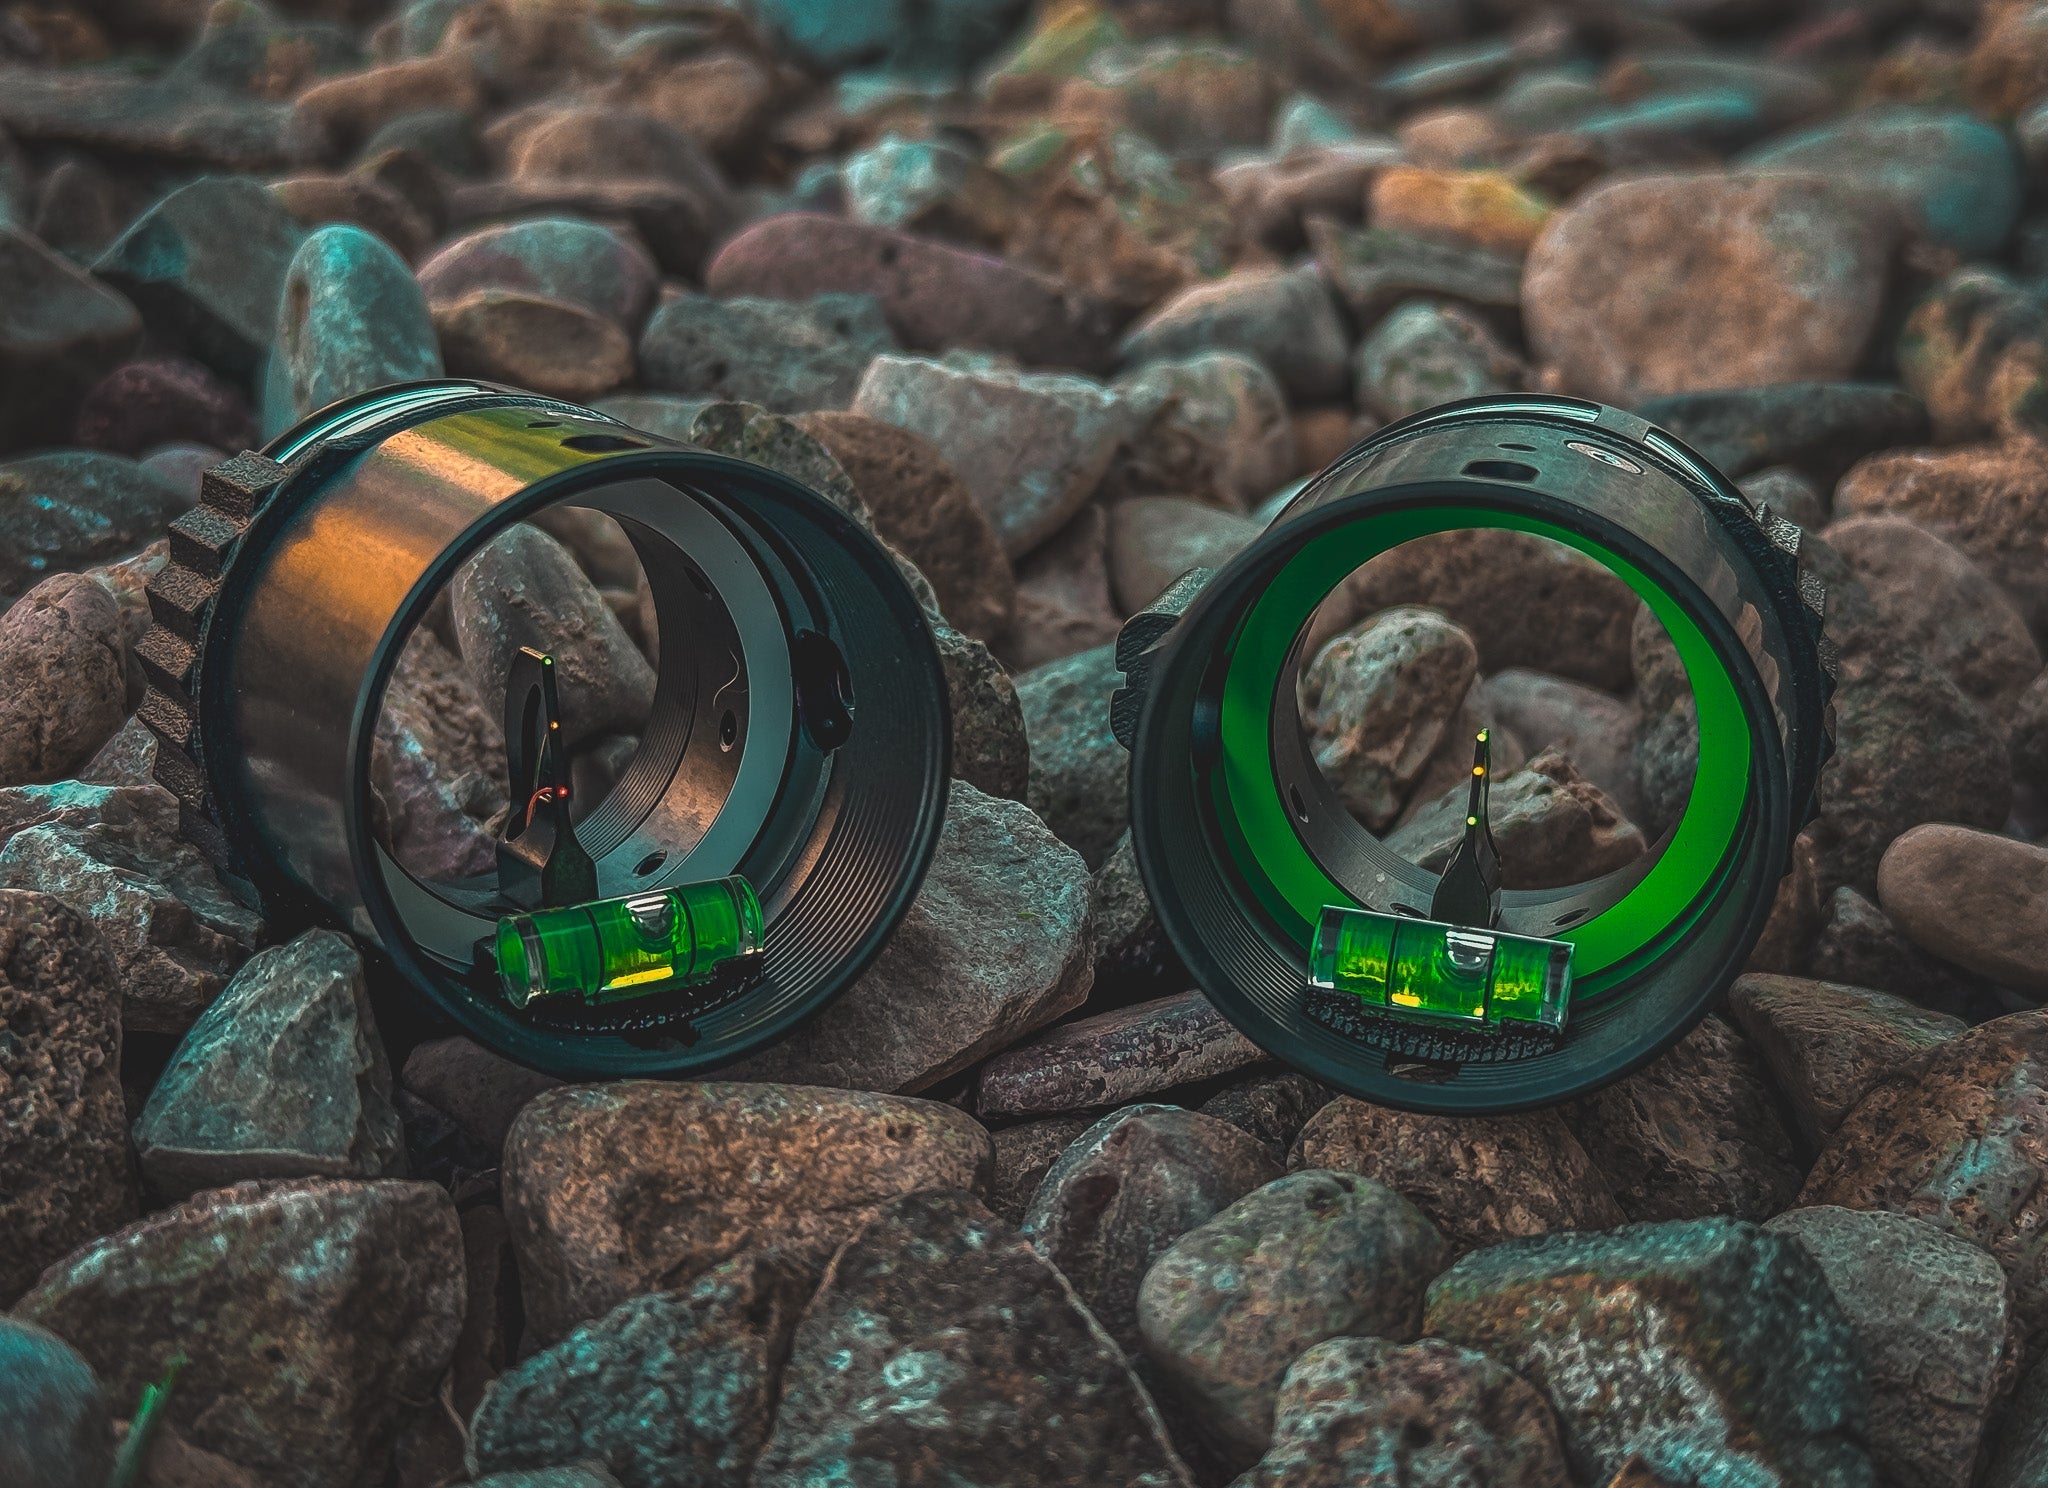
Step 3: Adjust Nock Height and Center Shot
Setting the Center Shot
Position the arrow rest according to the manufacturer’s specifications. Typically, the midpoint of the arrow shaft should sit approximately 11/16 to 13/16 inches from the bow’s riser edge, aligning with the bowstring’s natural path.
An incorrect center shot can cause fishtailing or erratic arrow flight.
Adjusting Nock Height
Align the arrow shaft so it sits at a 90-degree angle to the bowstring. Use an arrow square to ensure accuracy, then set the nock height and D-loop position.
Make sure your bow is completely level during this process for best results.
Step 4: Begin Paper Tuning
The Paper Tuning Process
Paper tuning is a straightforward method for achieving ideal arrow flight:
Create a frame with painter’s paper stretched across it and place it a few feet in front of a target.
Shoot a bare shaft (an arrow without fletching) through the paper from 4 to 6 feet away.
Aim for a clean “bullet hole” tear that matches the arrow shaft’s diameter.
Proper shooting form and correct arrow spine selection are critical. Vertical tears indicate nock height issues, while horizontal tears suggest adjustments are needed in the arrow rest position.
Step 5: Troubleshoot Inconsistent Tears
Common Causes and Fixes
Nock Fit: Ensure the nock fits snugly on the string while still allowing free movement.
Nock Pinch: If the arrow lifts off the rest during the draw cycle, tie a nock set below the nock position.
String Harness Adjustment: Uneven string harnesses can introduce limb torque. Adjust as needed or consult a professional for advanced yoke tuning.
Step 6: Verify Accuracy and Make Minor Adjustments
Fine-Tuning Accuracy
Once you achieve a clean paper tear, continue testing to confirm consistency:
Test again from 12 feet and then from 10 yards.
Compare the impact points of fletched arrows versus bare shafts.
Make small adjustments to the arrow rest or D-loop as needed:
If the bare shaft impacts above the fletched arrow: Lower the arrow rest or raise the D-loop.
If the bare shaft impacts below the fletched arrow: Raise the arrow rest or lower the D-loop.
If the bare shaft impacts left of the fletched arrow: Move the arrow rest left.
If the bare shaft impacts right of the fletched arrow: Move the arrow rest right.
Conclusion
Bow tuning doesn’t have to be overwhelming. By following these steps with a relaxed and methodical approach, you can achieve consistent, precise arrow flight.
A well-tuned bow improves accuracy, boosts confidence, and ensures you’re prepared for any challenge in the field. Start tuning today and enjoy the satisfaction of precise, repeatable shooting.

Leave a comment
This site is protected by hCaptcha and the hCaptcha Privacy Policy and Terms of Service apply.